Several folks on my Homesteading Group asked for more details on my etching method, so here it is. Please note this is the way I do it, but I’m sure there are a hundred variations out there. This session assumes you already are familiar with etching and all the safety precautions needed.
I get my brass pre-cut into 6×36″ strips and it’s plastic sheet-protected. I cut off the size I want -11X6″ fits perfectly into my ferric chloride tub so that’s what I am working with here. I remove the protective cover and then scrub with a green scrubby to give the metal some “tooth” for the stamping to grab onto. I then clean the surface with Acetone to make sure there are no fingerprints or oil left on the surface….none. nada.
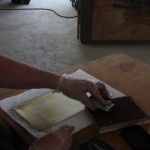
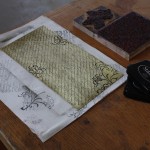
The stamping part is easy-I use quick, random stampings with StazOn Ink or create my own with a Sharpie marker. Letting this dry is crucial-ask me how I know.
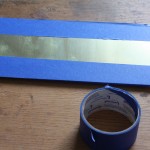
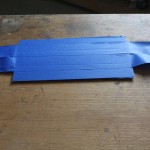
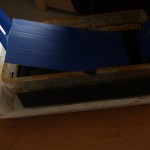
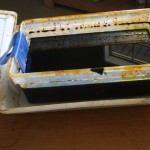
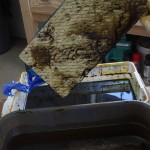
I use the blue painters tape to cover the back of my metal-any color will do but I like the strength and hold this one has, plus it shows up well on photos! I carefully ease it into the ferric chloride tub and secure at each end so it doesn’t slip down to the bottom of the liquid. Now you wait. Today was a nice day here, but not too hot. The temperature and age of your solution will determine the correct etching time. My etch was done in 40 minutes-you test it by lifting one end and running a gloved finger over the metal to see if the etch can be felt.
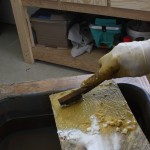
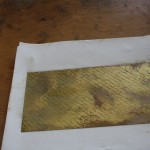
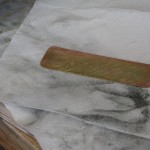
Take the metal out of the etchant, dip into a water bath, remove the masking tape, and scrub with a brass brush and baking soda until the ink is removed and the ferric chloride is neutralized. I can’t stress enough how important it is to wear protective clothing and gloves, and keep everything covered that you do not want stained–unless you love bright yellow.
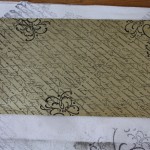
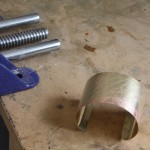
This is the finished product. I let it air dry and the proceed to cut, anneal and shape.
I’d be remiss without mentioning how to dispose of the water you washed the metal in. I wait until the metal has settled to the bottom of the wash pan, pour off the clear section, then leave the remainder to air dry. Once that is done, I dump it into a plastic-lined bucket and when full, take it to our recycling yard where they have special disposal available. You don’t want this getting into the water system, and this method is easy to manage.


