To divide or make something in such a way as to resemble a net or network….
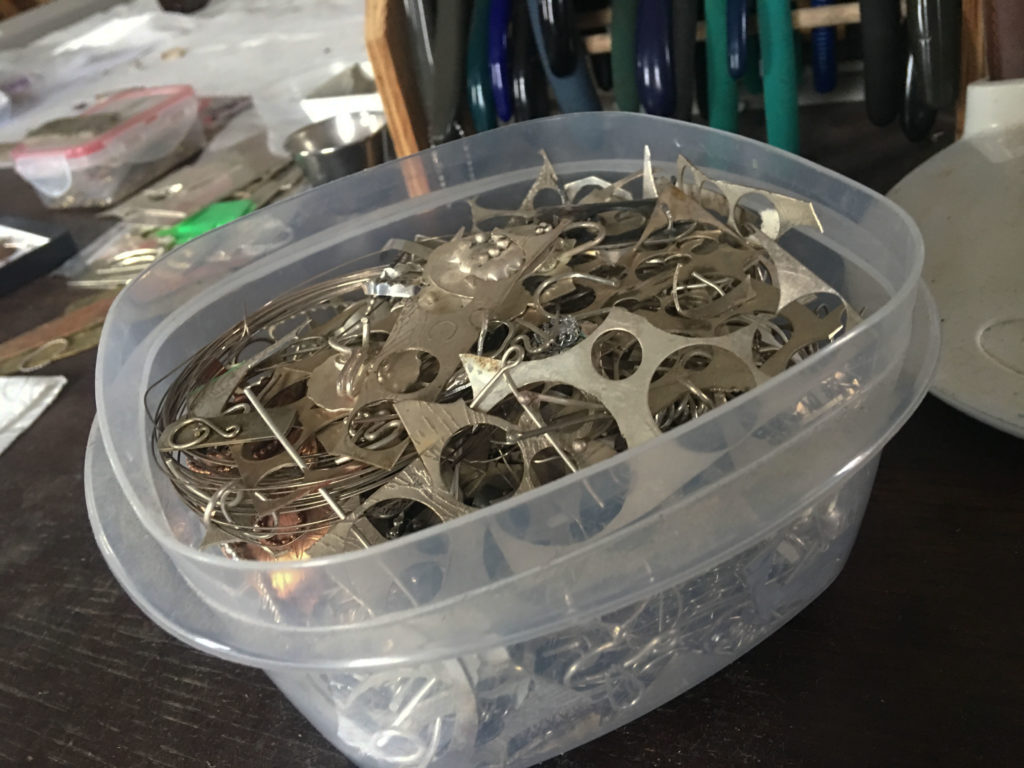
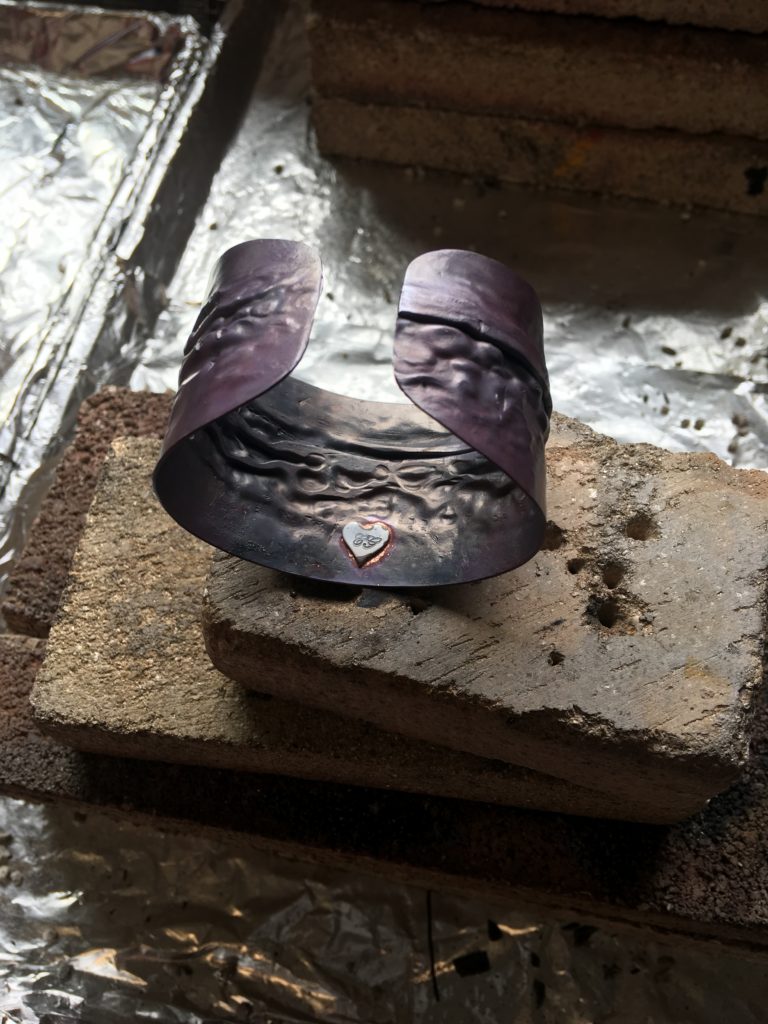
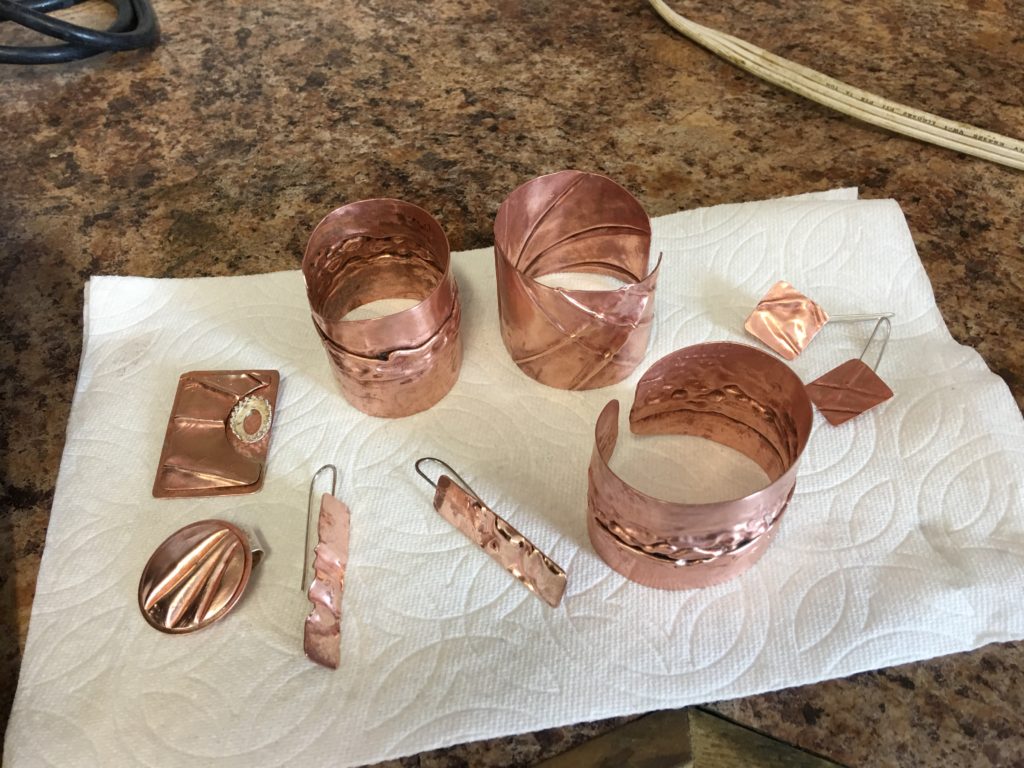
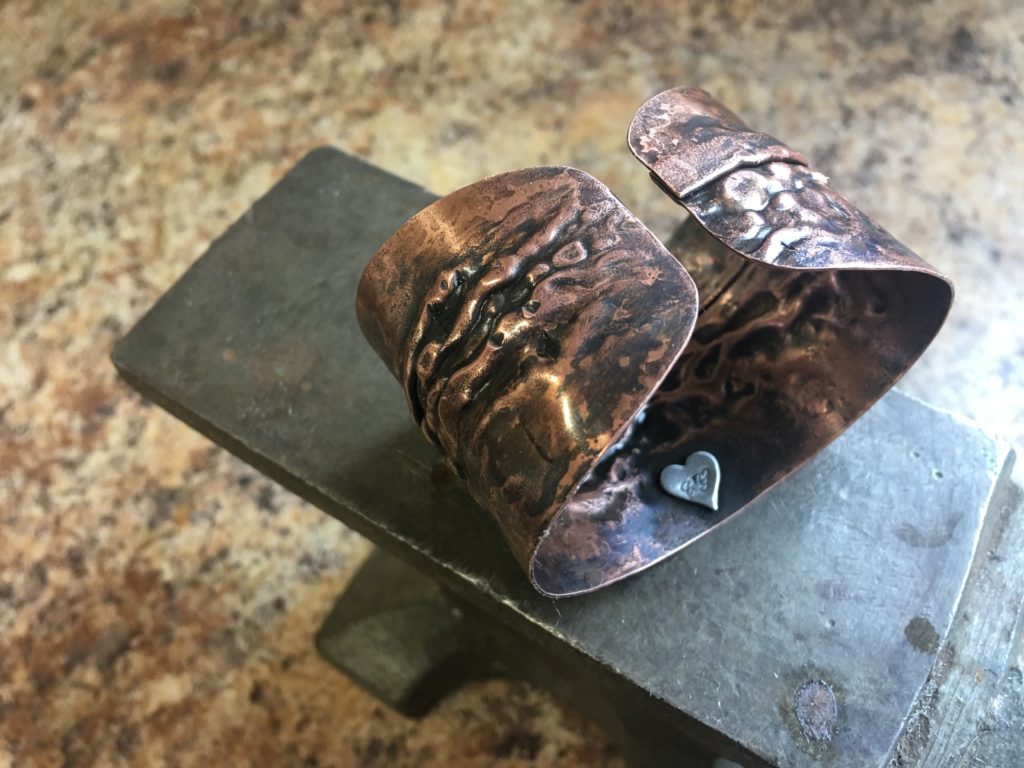
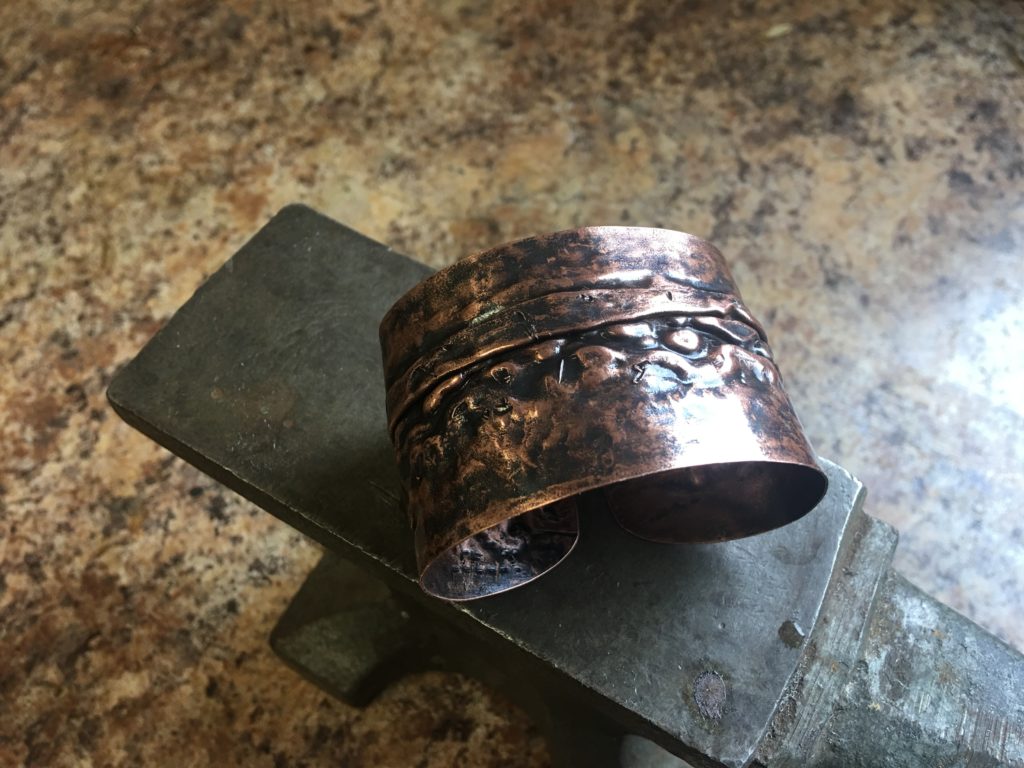
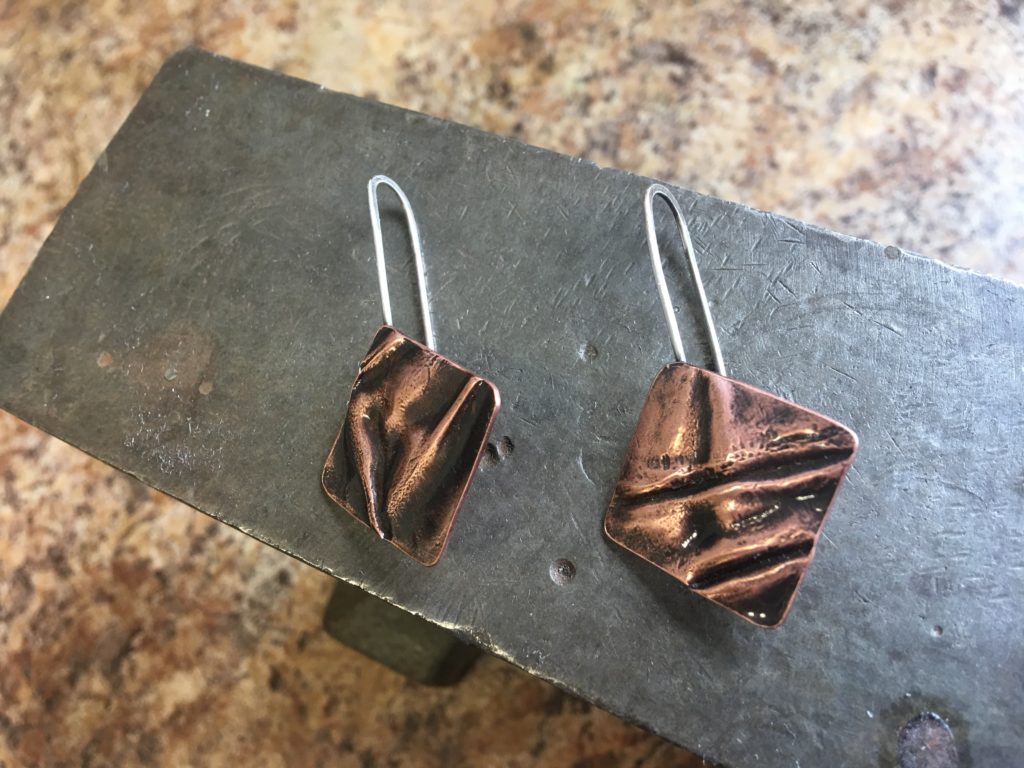
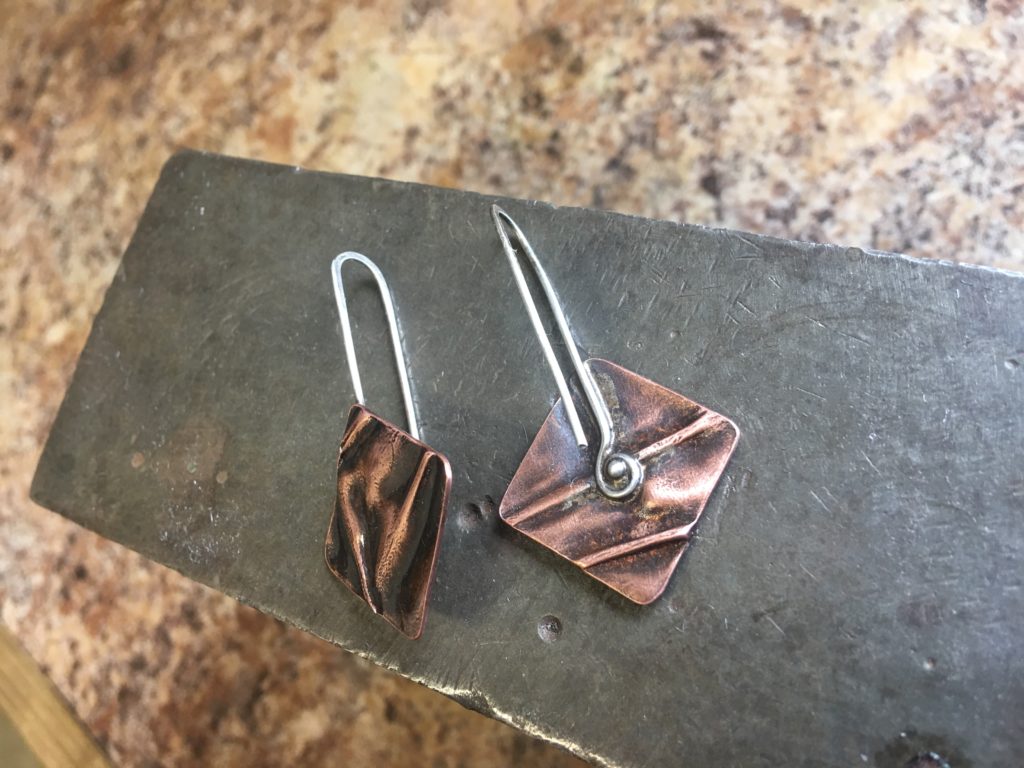
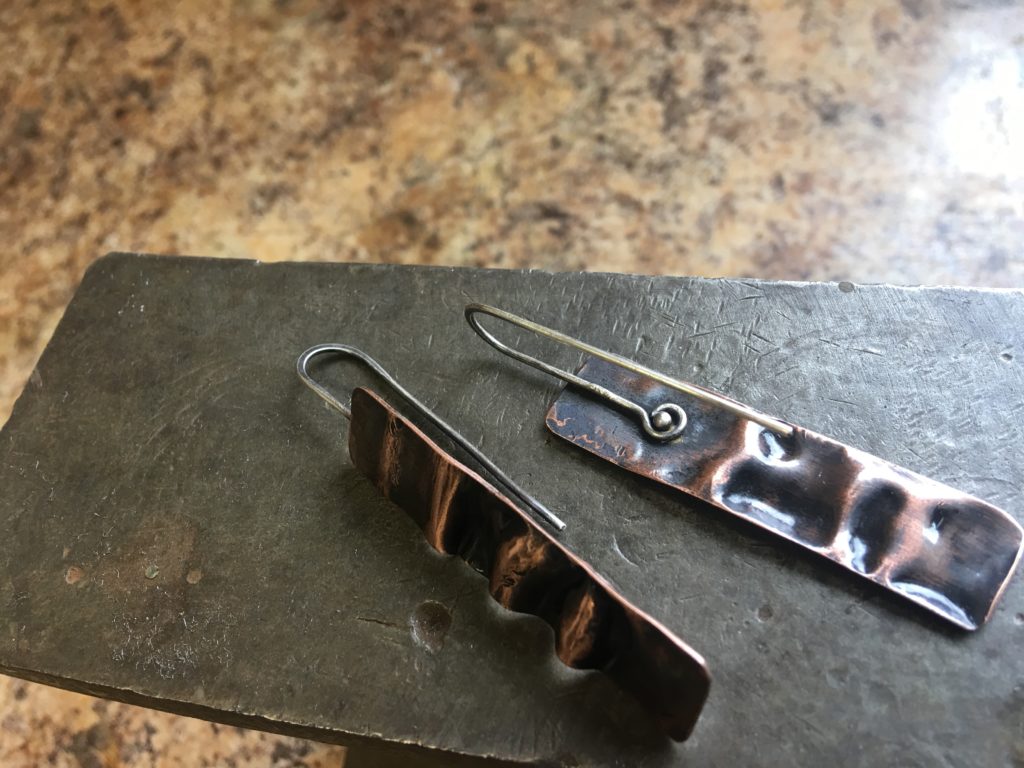
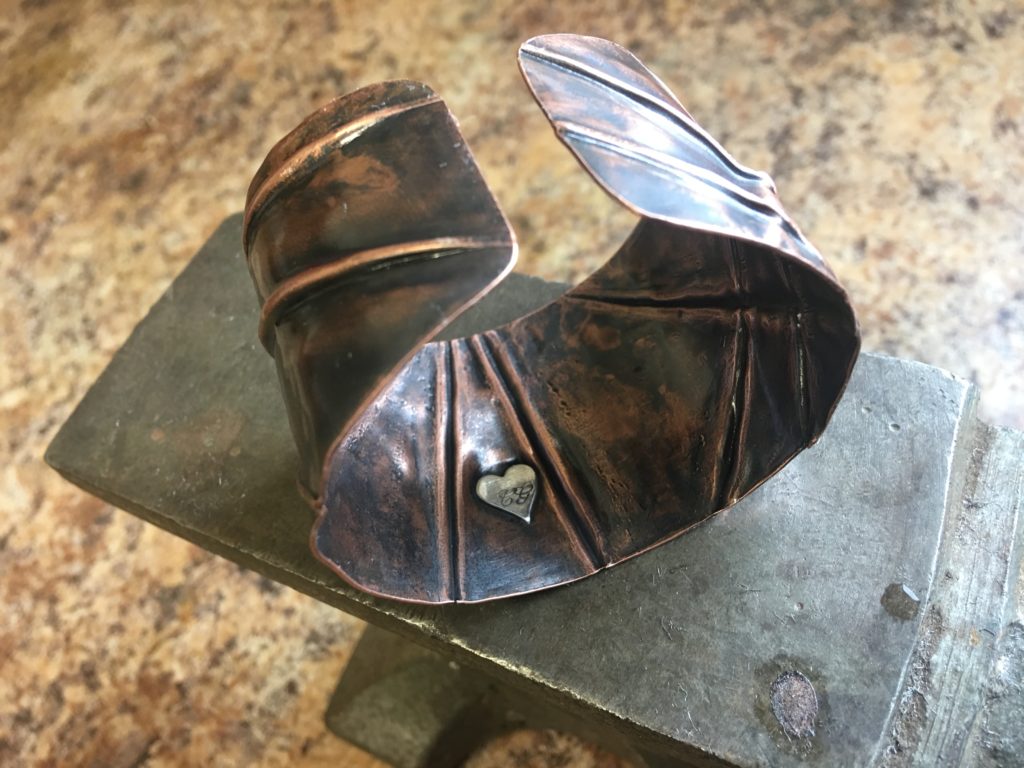
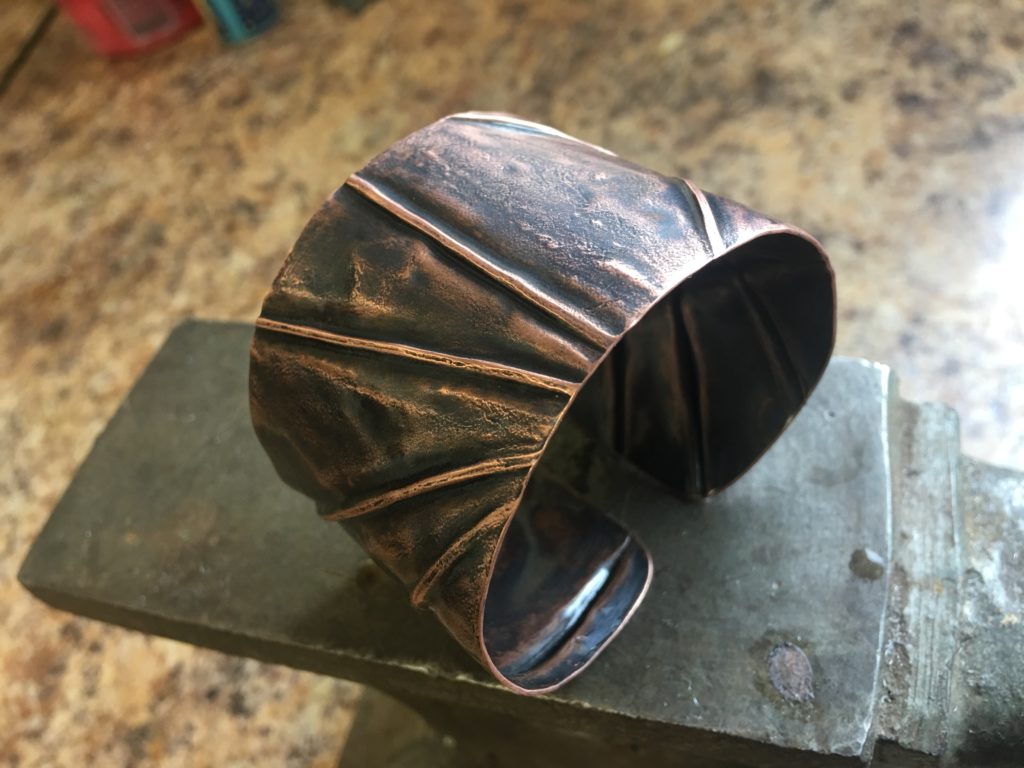
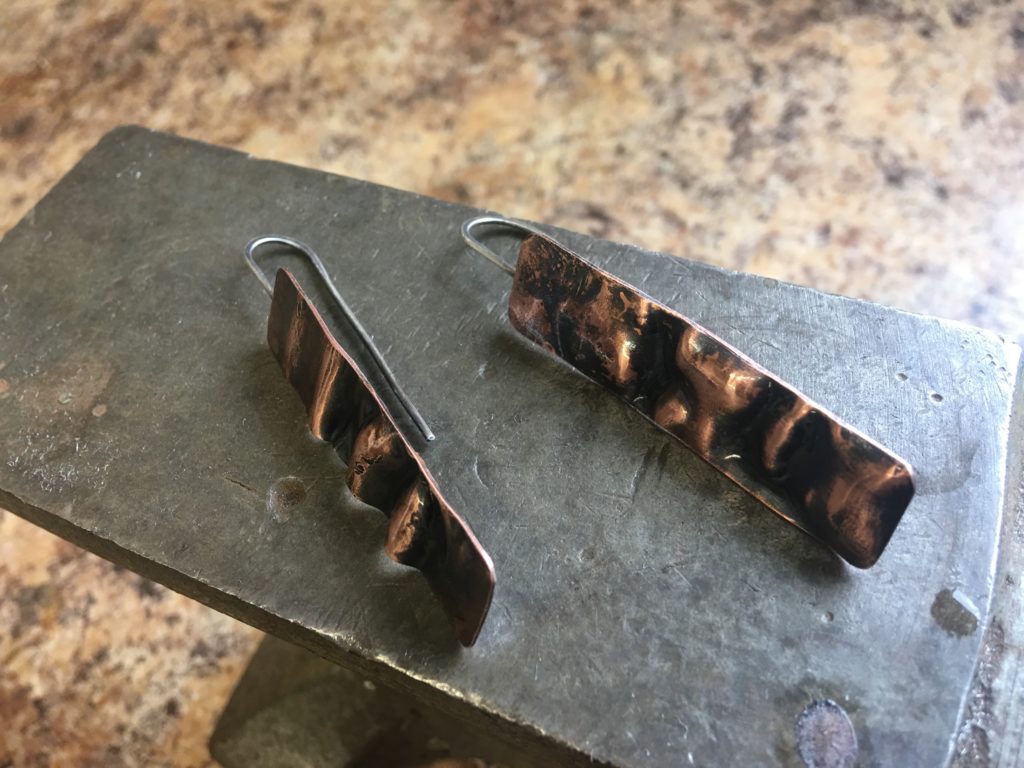
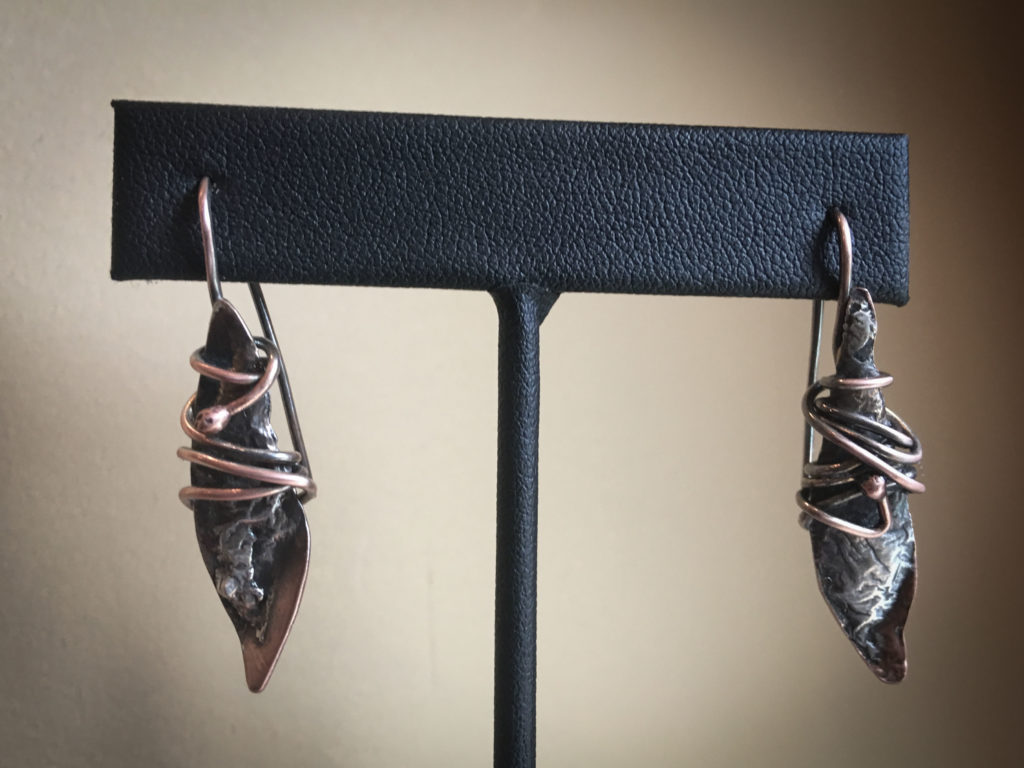
There is always a bowl of scrap silver wire and metal bits close at hand on my work bench. So coming up with supplies for this project was easy! It’s been some time since I played with reticulation but I had an idea of combining it with another earring design I really liked and that led to these. The silver reticulated beautifully onto the copper base and is full of fissures and craters, heavily accented with a patina of Liver of Sulfur. The wire is Sterling Silver as are the ear wires.
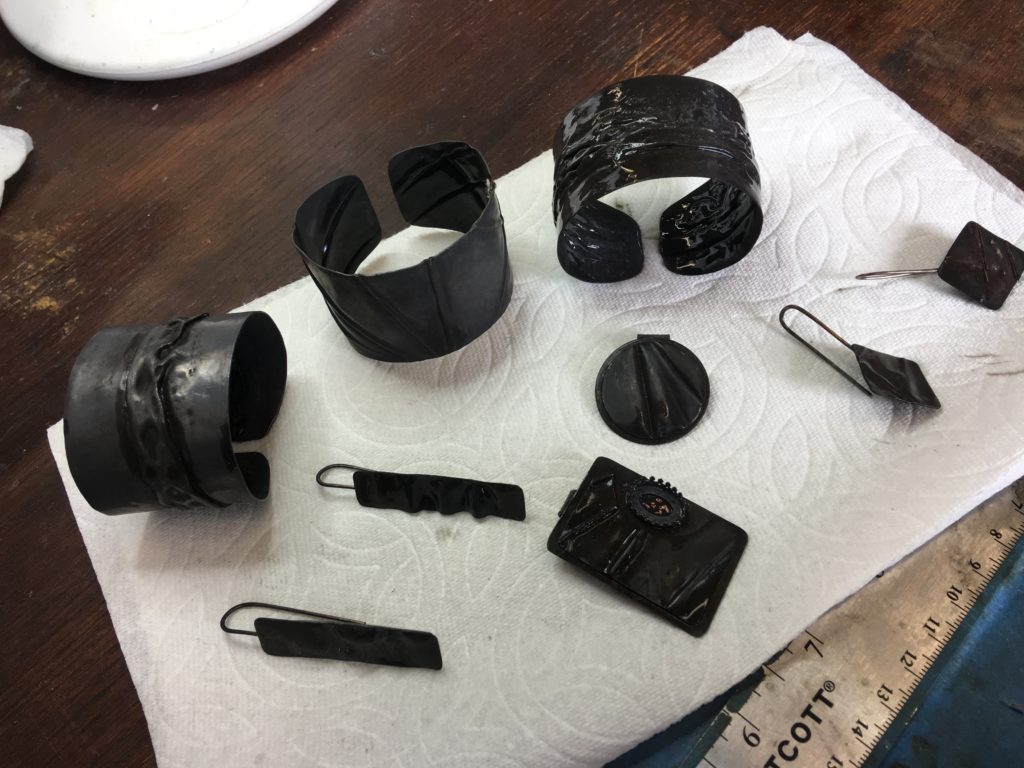
This process led to a few more pieces:
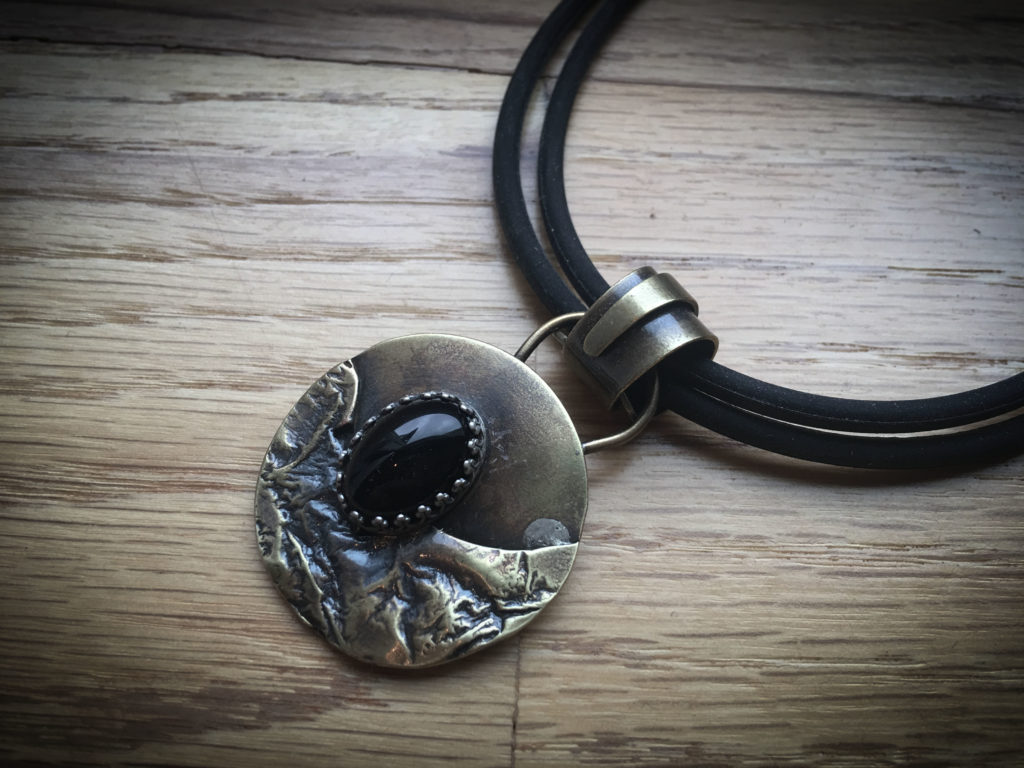
Brass with silver reticulation and a Black Onyx Stone 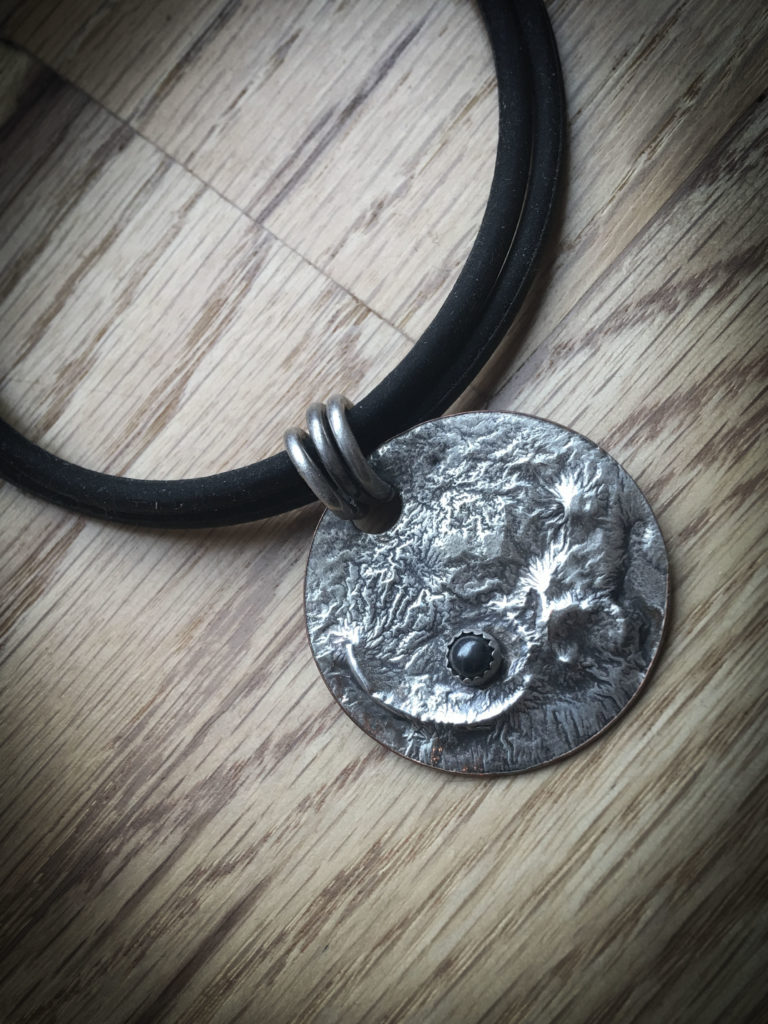
Silver on silver with a Hematite Stone
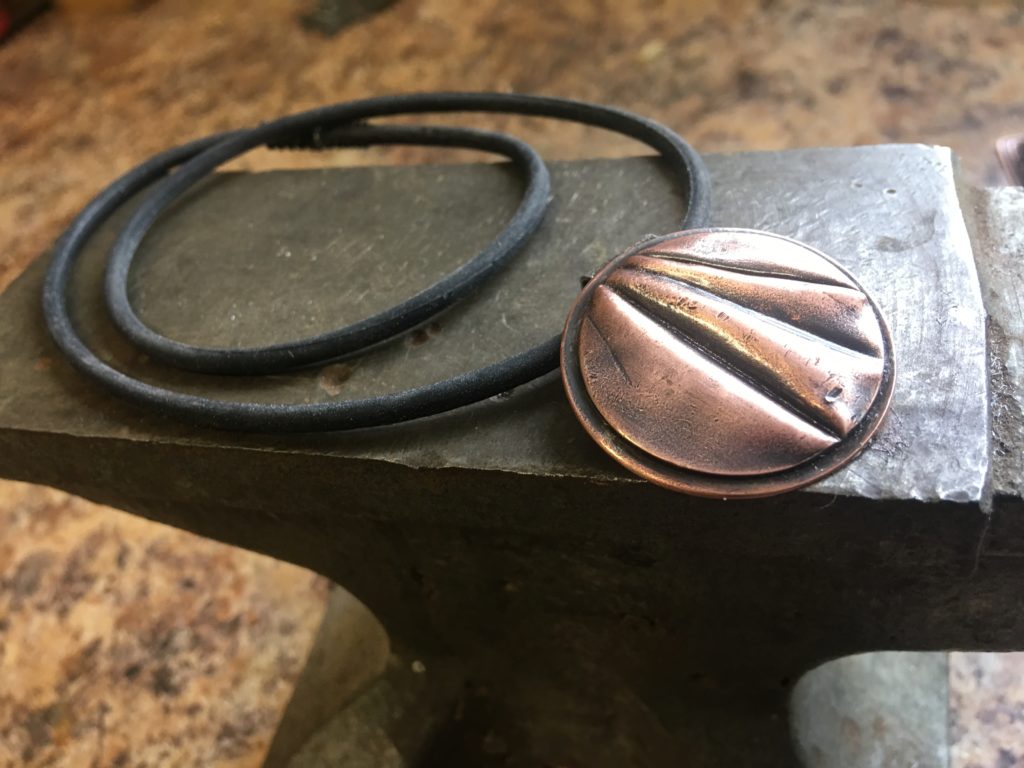
This process is nicely demonstrated in this video by Nancy Hamilton and she show just how easy it can be. I like pre-cutting my pieces because it is hard as sin to cut once it’s been reticulated!
It didn’t make much of a dent in my scrap pile–