The next steps to helping you incorporate some of the amazing prints into “something”!
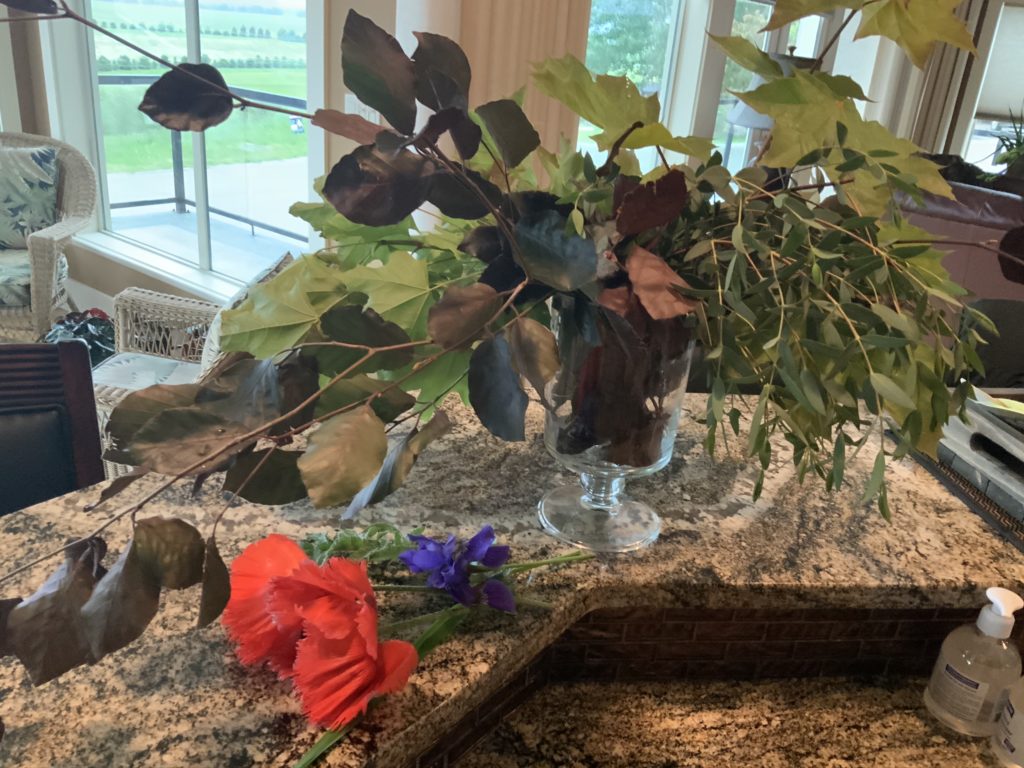
I began doing Eco prints in 2018 using the flowers from all the spectacular arrangements that arrived in our Mom’s hospital room during her final days. It seemed like a fitting way to preserve some of those moments. These are prints I felt symbolized the changing seasons, and somehow, the cycle of life. Each has it’s own mood or presence, and are deeply connected to our Mom. These are simply matted and framed, letting the “flowers” speak.


Obviously I can’t frame every print, since I’ve created hundreds since then. Nor do they all have the same meaning for me, but each deserves to be recognized in some way- so here are some ideas for you to consider once you start down this same path ♥
To begin, I did some pen markings on each piece. My preference is the .01 pigment liner pen, that I just adore. However, there are lots of options and you can use whatever pen or pencil suits you. I usually have a stack of cards with me and “doodle” whenever I get a few minutes of quiet time.


Before and After….now what?
Book Marks~


These were easy-I cut the paper into lengths I liked, darkened the edges with Archival ink, signed and dated on the front and stamped a message on the back. “Calmness” is my newest matra…
Journal entries ~
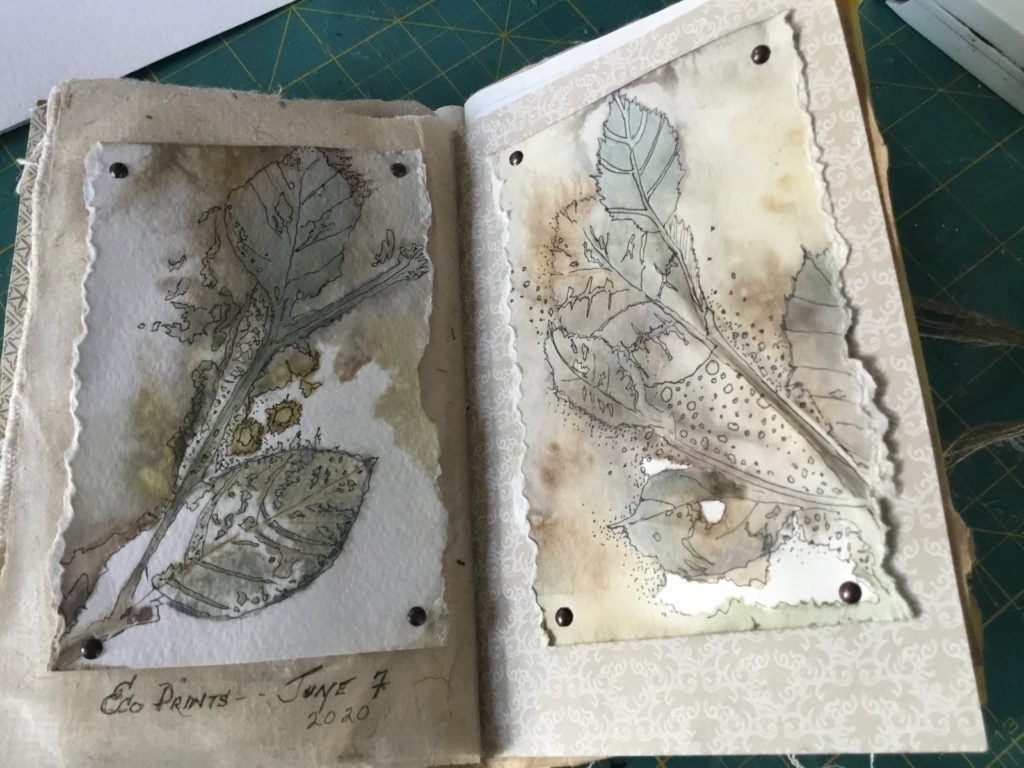

I could probably fill an entire journal with these eco prints but I didn’t… I positioned this one on a canvas page textured with plaster and crackle medium, then added the sentiment. It seemed fitting for this unusual point in time.
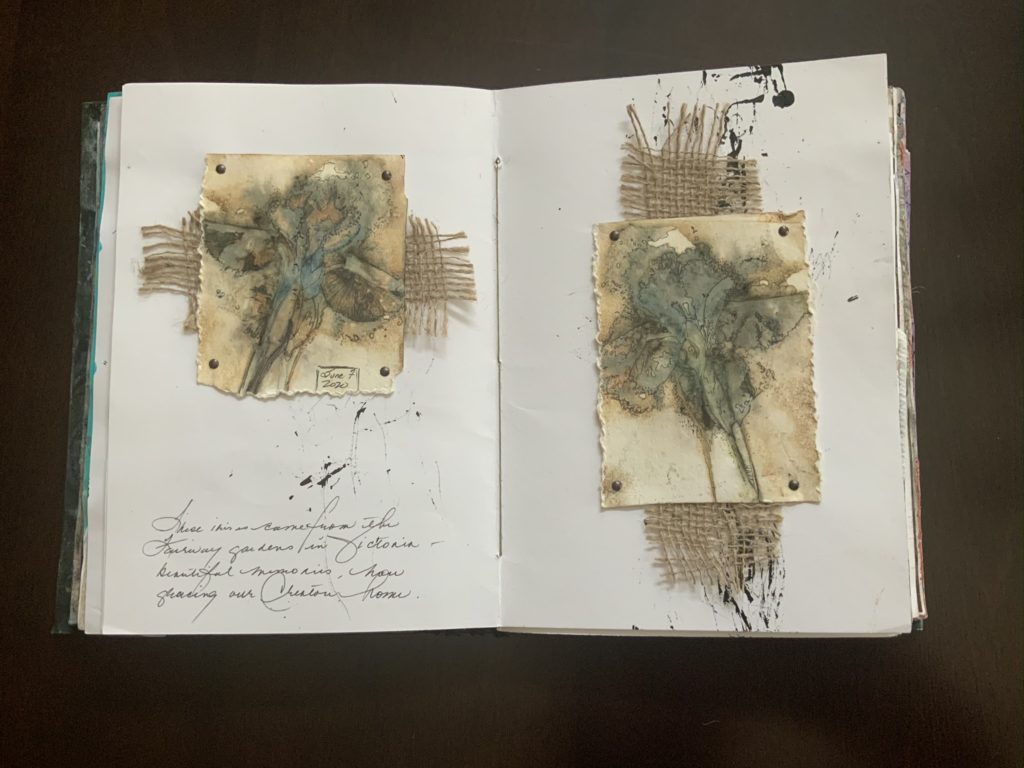
This particular Iris came from our Victoria gardens and had quite a journey to it’s new home in Creston, over a 3 year span. It has a special meaning for me, and I just had to do a journal page (s) for it. This one is India Ink marks made with a hand made horse hair brush (another story here), a layer of burlap, and the Iris prints (doodled) attached with metal grommets.
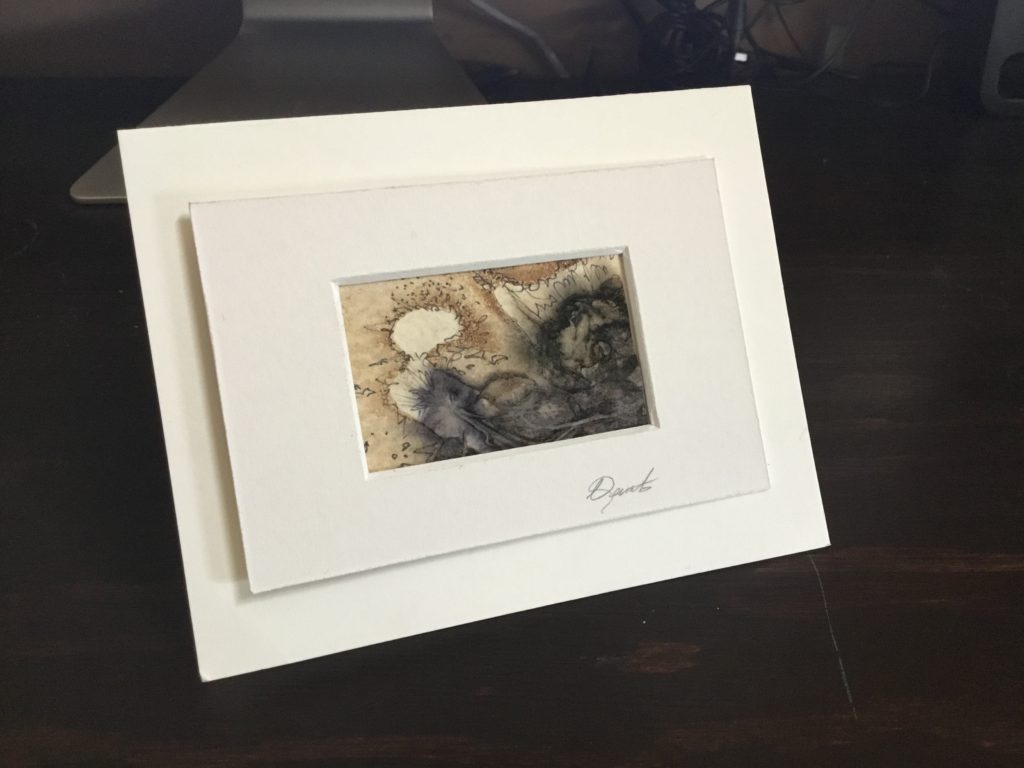
Note Cards ~
This is my newest and most fun project of late. I adore being able to carve up the pieces to showcase a tiny segment, rather than worrying about a large composition…it also creates many more “Christmas” moments since you can’t really see the final product until you position a frame over it. This was one of my “ah ha” moments….
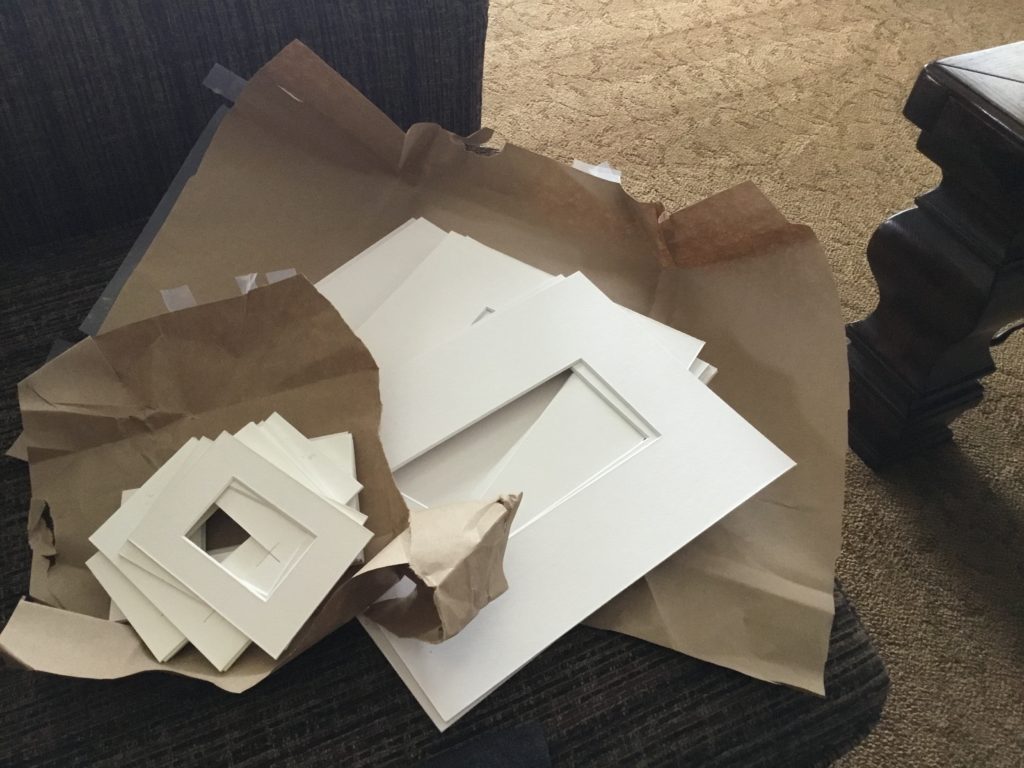
I am fortunate we have a wonderful little framing company locally, and it makes it easy to customize anything I need. 4 Corners Matting and Framing are terrific to work with, and I can shop local too! This was their last package they hand delivered to my door:
I hope I’ve given you some ideas and inspiration to dive into the world of Eco prints, you’ll love the journey♥