Category Archives: In the Shop

And a new year begins…

But first I needed to finish off so many projects, all in various stages of production. Today was the day!

My studio is an eclectic mixture of stuff. I have metal art pieces on the go, mixed media journals and wall art, encaustic wax panels and sewing. I began with the mini journals that have taken over the dining room table for the past 2 months.

Caterina Giglio is an amazingly talented mixed media artist I have been following for years. One of her posts from 3 years ago features Miniature Book Making and that’s where I started with these little journals.

I love the embellishment part of the book making process. I also am a “keeper” of things…so I have a good sized stash to play with when I need inspiration. These are what I finished today:

These little books are 2 1/2″ by 3″, and this one is covered in an eco printed cotton that I did with maple leaves a couple of years ago. The patterned paper is also an eco print, embellished with pen marks, created about the same time. If you’d like to see the eco printing process I used, view my post here.

The little brass bezel in the center was one I made about 6 years ago. The base is etched brass and the center is a copy of an old angel print that I encased in resin. It’s been waiting patiently in a drawer to find it’s forever home ♥

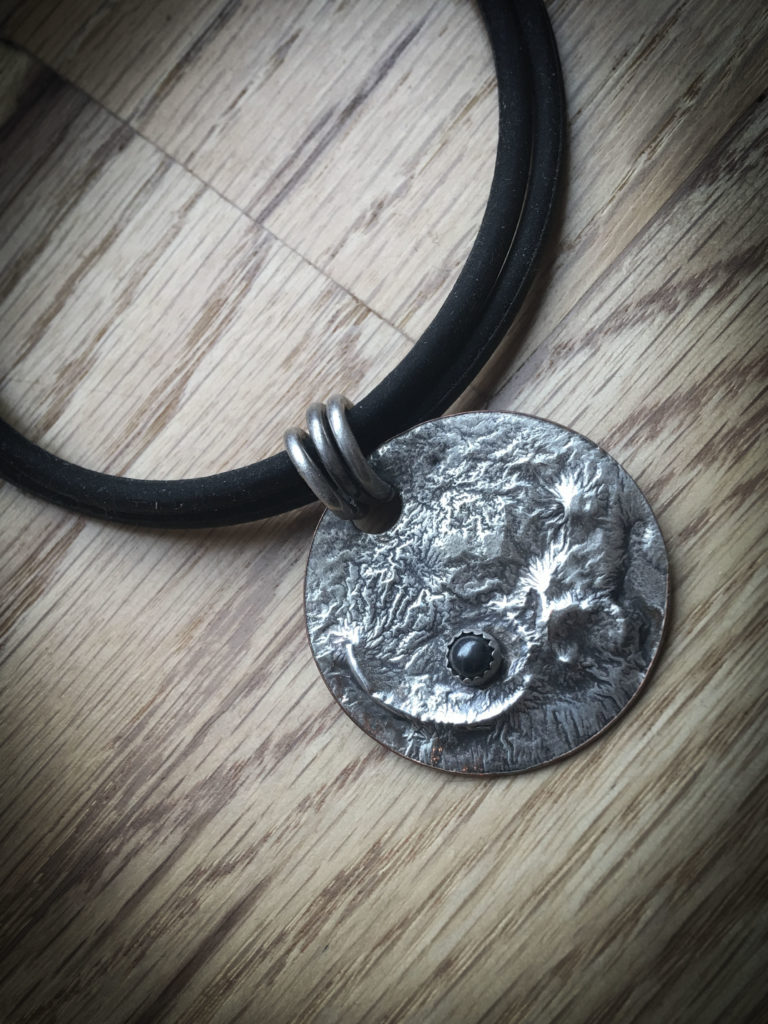
These books are all 2 1/2″ x 3 1/4″ high, with the signature pages finished with various paint techniques. This one has a reticulated, etched piece of brass on the cover that I did over 10 years ago…and another piece of that eco print, finished off with recycled Sari silk ties.

I happen to not only love feathers, but am fortunate we have wild pheasants here in our Valley. This is a donated one…

I adore the colours in this one and it’s extra special because that’s a photo of my Grandma in 1930…swimming at a local beach. It’s encased in resin in an etched brass bezel , and attached with tiny screws. The eco prints were made with local botanicals and the wrapping is a tea dyed cotton.

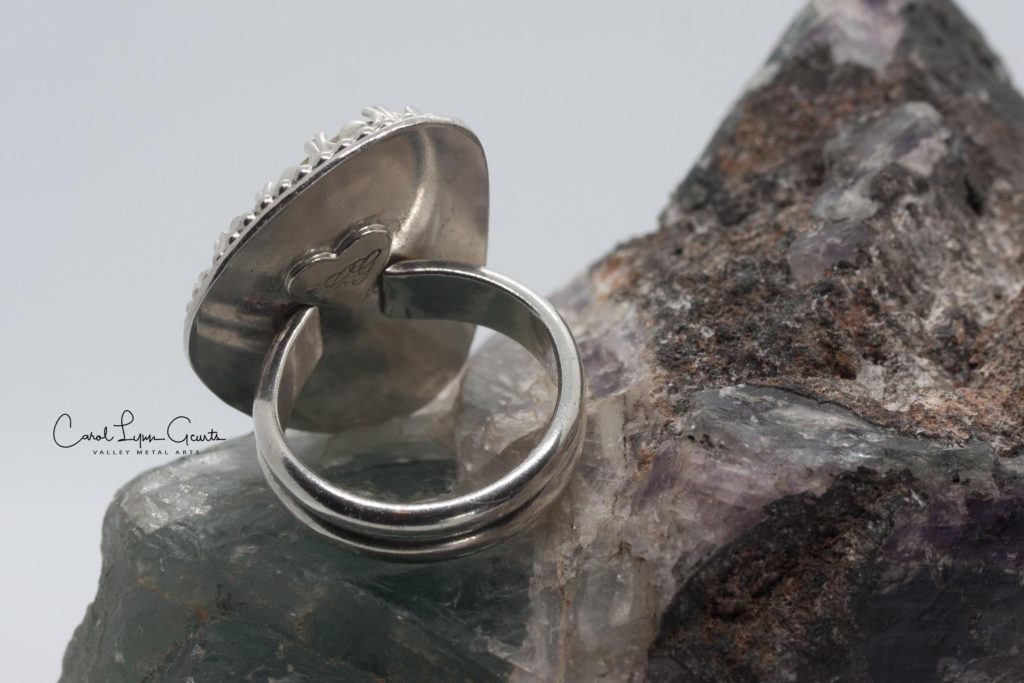
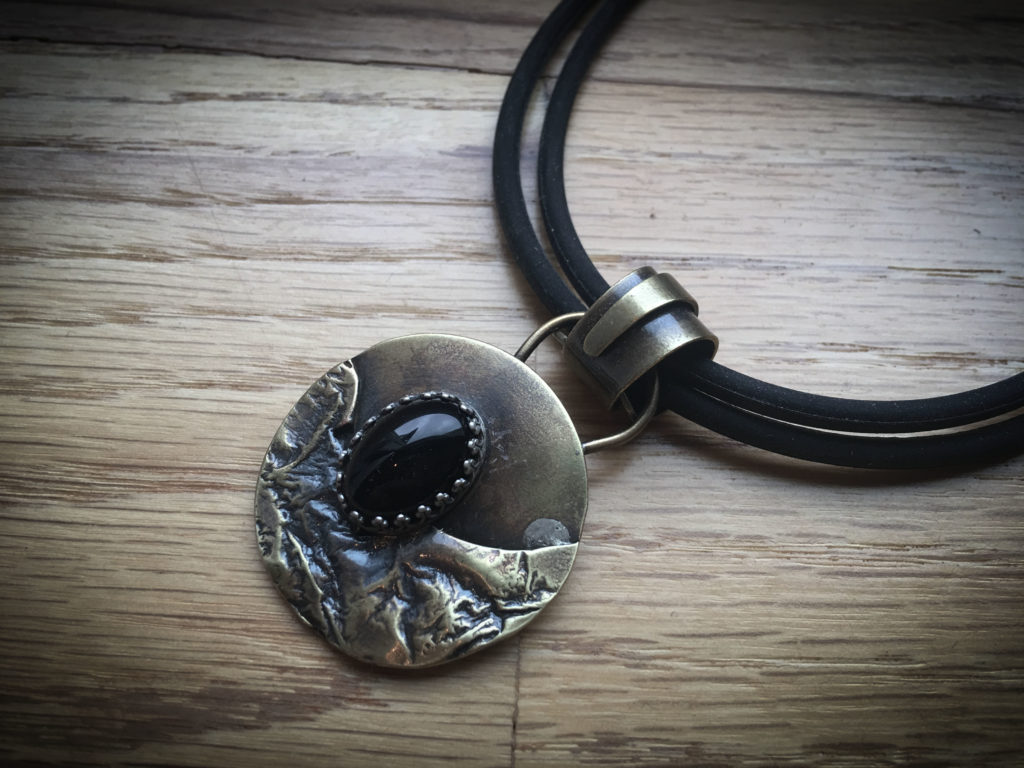
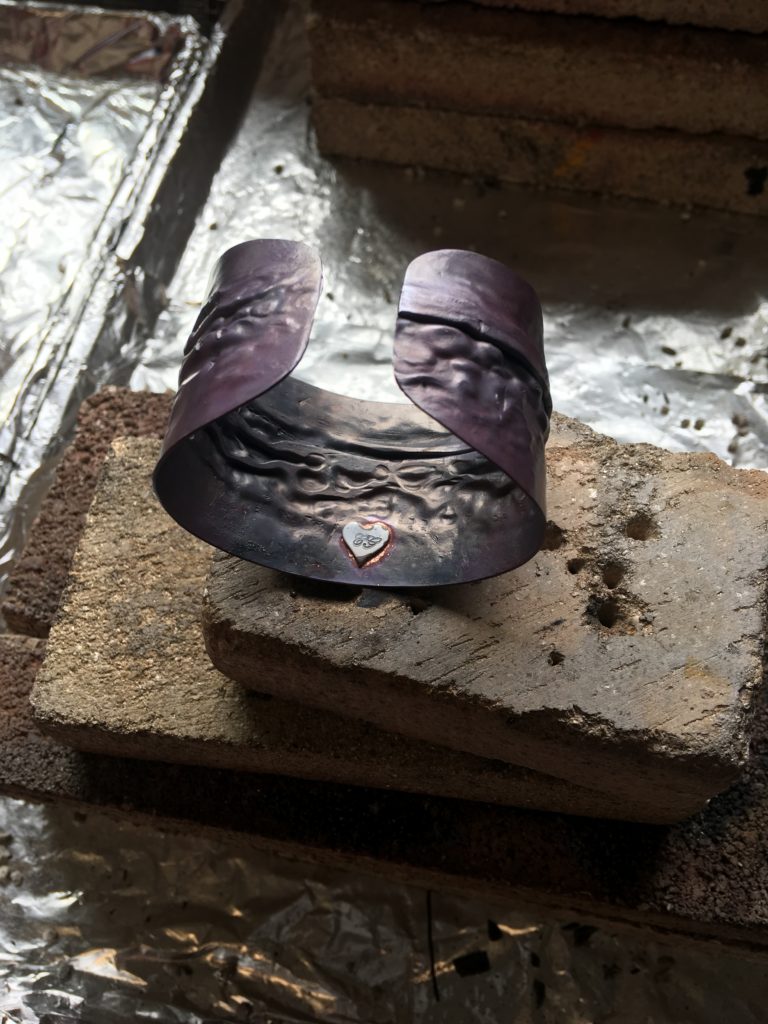
The final one I finished was another brass bezel, this one is a silver heart and a tiny garnet. It has a cloth cover and another tea dyed wrap.

I found the paper based covers were not standing up, so switched to fabric. I really like the rough cottons and just happened to have a stash of that as well…

Amber…tiny bits 30-90 millions years old…

Who knew??? According to research, Amber has been around almost forever and has amazing properties..including magical powers. Can’t think of a better way to start off a new century!

These little gems are the final product of a lengthy process. It began with etching a pattern into a sheet of silver. Simple enough process usually but it’s been awhile since I etched anything, and because I’m never content to do anything the “same old way”, I just had to look for better methods. It’s like falling into a rabbit hole, so many choices!!! I spent a month buying new supplies, a laminator, PNP paper, and researching Vector images–Etsy , EBAy and Amazon love me! After all that, am back to my original methods…which work.

I had these tiny Amber cabochons stashed away and finally found a home for them. I think they’re happy… and yes, they are purposely cattywampus…just because I could.

My work is on display and for sale at Legend Logoshttps://www.facebook.com/legendlogos.ca/ in Creston BC, and the Creston Valley Visitor Centre through thehttps://www.crestonvalleyartscouncil.ca/ Creston Valley Arts Council.

And just like that…another year has passed

It’s hard to believe it is 2020-I haven’t caught up with 2019 yet for heavens sake! No idea where it went, and I’m determined to not let the same thing happen this year….wish me luck.

The recent snows here in the Valley and holiday season meant things have quieted down somewhat in my other life, and I’ve had some much appreciated shop time. Thought I’d share a few of the projects I’ve been immersed in in the coming weeks, and the trials and tribulations that came along with them.

Beautiful Jasper…♥

This is quite a large stone that I cut a few months back with intentions of making it into a pendant. It somehow just never made it that far–and now I know why. It was meant to be a ring…. the swirls in this gorgeous Jasper are pale peach, grey and soft yellows and would never have been my first choice for a personal piece. When it was time to decide on a band size, it had grown on me..and I am now the proud owner of this chuck of rock.

The base is very plain, and only one level, with a simple double band. Some days it fits perfectly, on others it flops around almost too big to keep on, and others it barely makes it over my knuckle…but I love it.

So my first lesson for the New Year is to try to “go with it”…not micro manage the world and just accept the bigger plan. In theory, sounds great-check back soon and see how that’s working out for me…..♥

Reticulation

To divide or make something in such a way as to resemble a net or network….

pointy bits and sharp stuff..

There is always a bowl of scrap silver wire and metal bits close at hand on my work bench.  So coming up with supplies for this project was easy!  It’s been some time since I played with reticulation but I had an idea of combining it with another earring design I really liked and that led to these.  The silver reticulated beautifully onto the copper base and is full of fissures and craters, heavily accented with a patina of  Liver of Sulfur. The wire is Sterling  Silver as are the ear wires.

All wrapped up

This process led to a few more pieces:

This process is nicely demonstrated in this video by Nancy Hamilton and she show just how easy it can be.  I like pre-cutting my pieces because it is hard as sin to cut once it’s been reticulated!

It didn’t make much of a dent in my scrap pile–

Tortured metal

Sometimes you just need to beat something with a hammer.  Luckily I have a decent stash of copper…It’s been awhile since I did fold forming and air chasing. It was a nice change from the finicky details involved with most of my silver pieces.

This fold forming process begins with annealing a strip of metal, in my case, copper and then creating random folds, hammered down to make nice clean lines.  That’s the  easy  part.  Beating it into submission means the metal has work hardened and unfolding it can be a bear.  More heat usually solves that problem and then I repeat the process many times over until the piece has been folded to death-or to my liking…or my hands give out.  Just depends.

Air chasing involves creating a pillow-shaped fold that is then manipulated with a rounded punches, in various sizes. The air  cushion allows me to “chase” the little pillow pockets into various shapes. Again, lots of annealing involved, some gritting of my teeth too.

When I’m done, I have some very rough pieces to work with and then start the design and cutting process. This is the air chasing strip I made into a cuff, just applying my maker’s mark before the final cleaning step:

The “Ugly Duckling” stage…

Some clean-up and a soak in the Pickle Pot  and now we’re getting somewhere:

After all that work, I gave them a dunk in Liver of Sulfur to create an ageing patina, then started the clean-up and buffing process all over again. I know-looks like I’m going backwards-

A bit more cleaning with steel wool and polishing pads and I think we’re done…

Next project— off to clean up the mess I made in the studio…

Ravishing Rhodonite ♥

For me, 2018 began with a frenzied start.  Busy in both my real estate career and family matters, there was little time spent in my shop.  I did manage to cut some stones and Rhodonite was my main focus – and here is what I ended up with:

Now what to do with them….From here, I began my design process. What seems like a good idea when selecting the cut and size of the stone does not always translate the same into a functional design. So I play—a lot! It’s a bit like building a puzzle with no straight edges-the opportunities are endless. In this piece I used a quartz crystal , and a tiny black onyx , a messy wrap silver wire detail, an etched bail, and a rather large Rhodonite cabochon.  
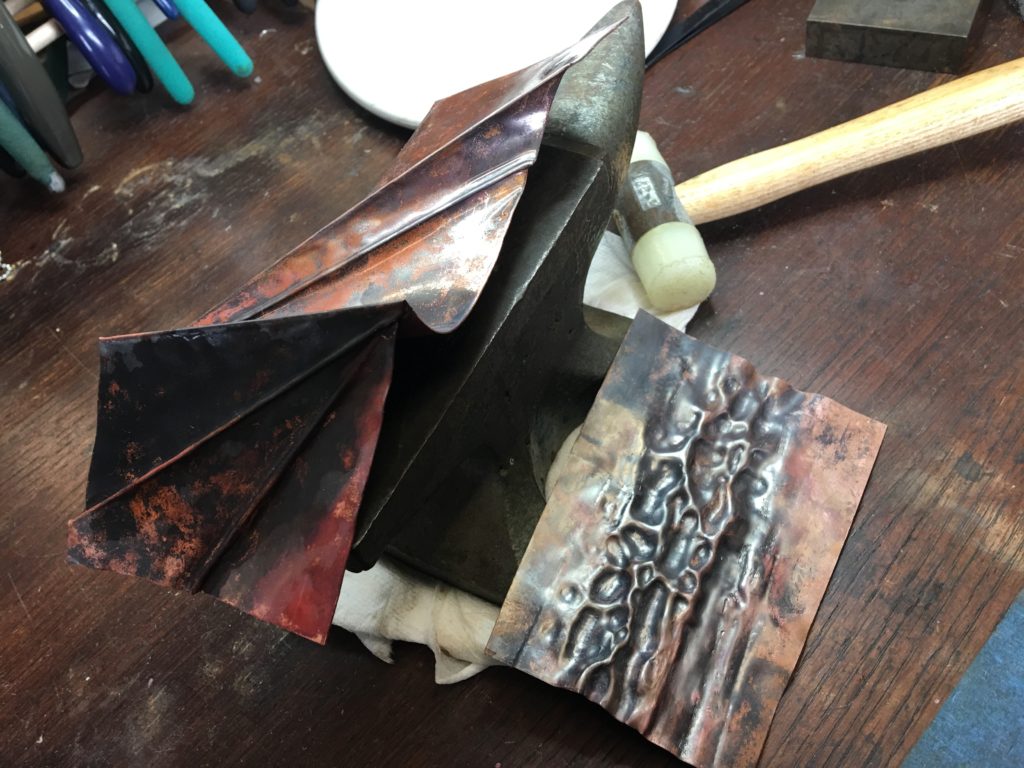
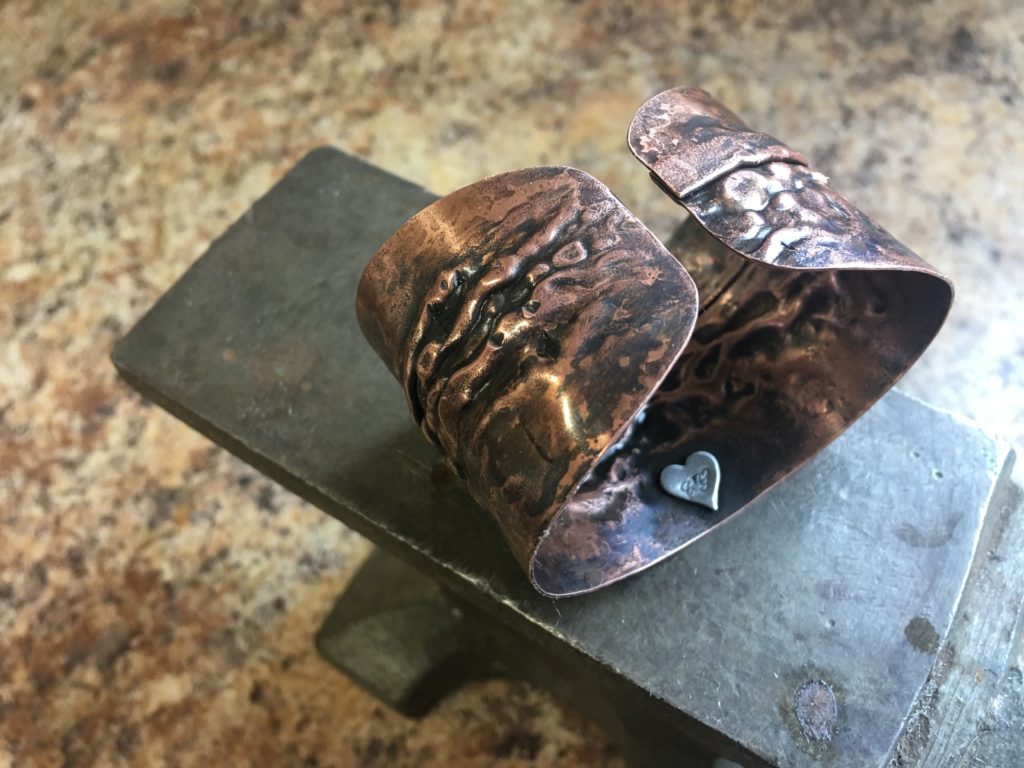
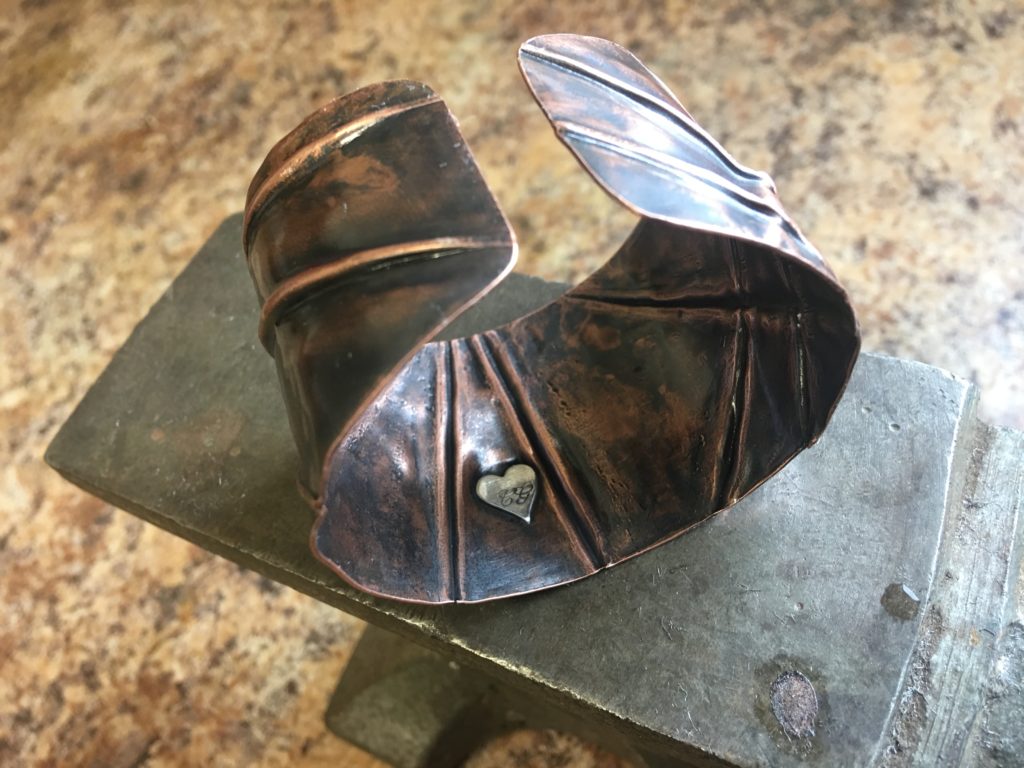
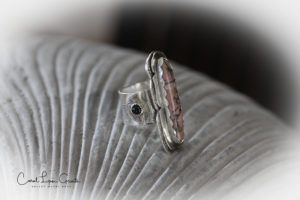
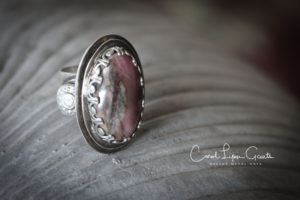
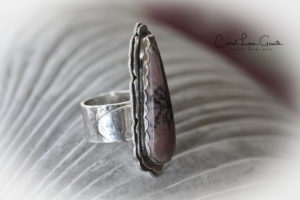
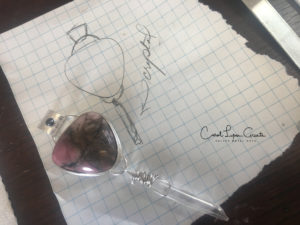
Next was a cuff. I had part of it already formed, but it sat for about a year waiting for the right inspiration to finish it-another large Rhodonite cabochon seemed the perfect fit.  I finished it with a second Sterling silver plate with a brushed finish and beaded wire trim around the cabochon.

Rhodonite and Silver Cuff

These are three of the rings from this collection of stones.  It’s amazing how one slab of stone can have so many interesting variations.  These are substantial rings, and I adore how the stones work with all of the textures used on the silver. These rings are adjustable, all inspired by a course I took with the amazing Deryn Mentock earlier in the year. I tend towards a much simpler design in my pieces but it was fun creating these and stepping outside my very comfortable “box” ! Please note these ring designs were based on the designs learned in Deryn’s class, especially the adjustable band and side stone focal. They are full of imperfections from the learning process and not for sale.  If you would like to visit her site and take her “Rings for Rookies” class, she’s an amazing instructor and makes it look so easy!  It’s a must for any serious metal worker wanting to upgrade their skill sets.

Love Rhodonite!

Luscious Sage Amethyst

I just simply adore Amethyst in all its forms but my favourite is Sage Amethyst…it comes from a very specific area of the Bilk Mountain Range in Nevada.  The more I work with it, the more I appreciate all the beautiful variations with the dendrites (tree like inclusions), and the multiple shades of purple, green and gray.  This is what I started with:

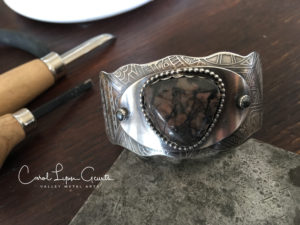
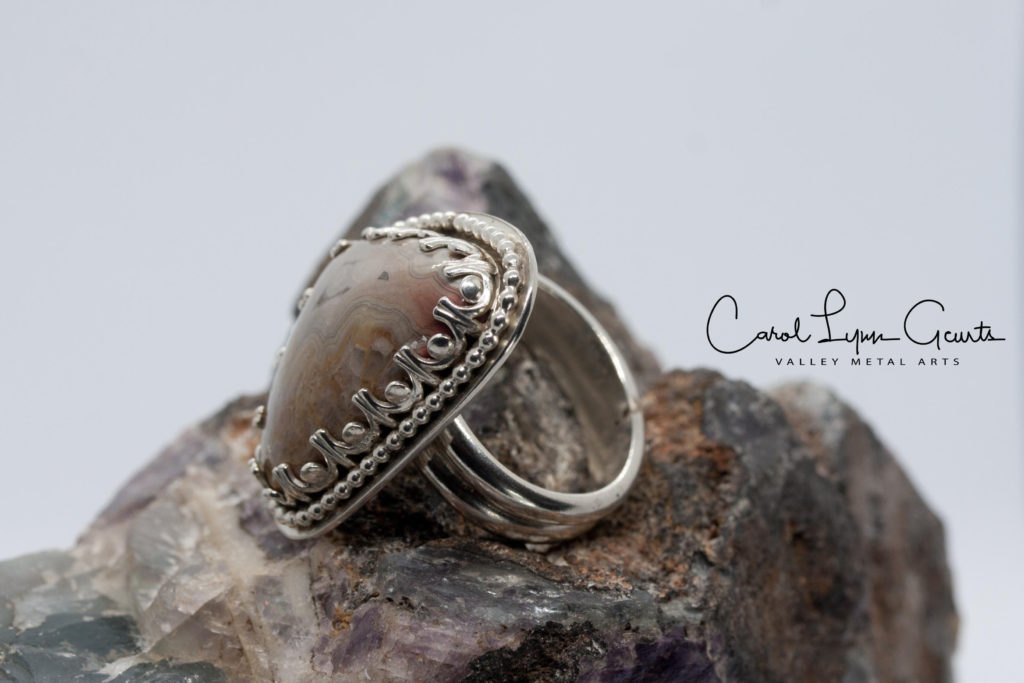
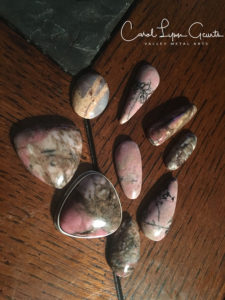
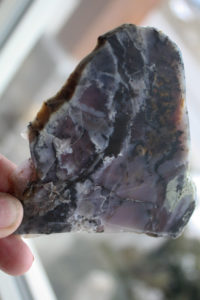
I cut my cabs around the cracks or other imperfections of the slab, with nothing in particular in mind, other than creating something with interesting patterns, highlighting the various areas I find to be particularly interesting. It’s never quite what I envisioned when I’m done, usually much more exciting and impressive.

Gotta love that colour combo!


Bring on winter…

I am amazed to see it’s been nearly 9 months since I posted …2017 flew by in a blur.  The first snowflake  brought a bit of calm to my real estate world so recently I had an afternoon to dust off my work bench and just play.  I had some new tools to try out, and a plethora of ideas that have been simmering on the back burner—Now to focus on a few new classes. Love this beautiful craft and process of creation!

What a difference a day makes…

I can see my shop out there-just can’t get to it…we got blessed again last night with another 2′ of snow.

So in the meantime, here is a piece I finished before the real white stuff arrived:

This is a 2″ agate I cut, leaving the one edge rough and textured.  Putting it into a setting was a bit of a challenge because I wanted light to come through as much as possible, and not to cover the textured side.  After weeks of sitting on my bench, this is what I came up with-it’s not perfect but I love it!  The silver setting took some doing with multiple attachments, using every gauge of solder I own, but everything came out intact including the silver balls, wire prongs, heart and bail-whew! Learned a lot and have some great ideas of what to do with the rest of the cabochons I have sitting in this box:

Time to go do some shovelling..


Riding the ragged edge of disaster…..

While most the countryside is being greatly inconvenienced by our late winter weather, I hate to say it, but I’m enjoying every minute of it.  The roads are a mess and going anywhere is a challenge-but as long as I can make the 30 feet out to the shop, I’m happy-like really happy!♥♥♥

I had an earring design in mind and thought a textured silver circle would be a perfect component-but was looking for something other than etched silver.  It’s been a long time since I did any reticulation (melting silver scraps onto copper), so decided this was the weekend to revisit the process.

This article by Kaelin Cordis likens the process to “riding the ragged edge of disaster”..and she’s absolutely spot on. One second too long with the torch in one spot means you have a hole right through the back plate, and a “cooked” mess. Too little heat gives a mediocre texture.  Somewhere in the middle is where the magic happens– So here were the results of finding that sweet spot :

I set a hematite cabochon into one, and a garnet in another, pretty happy with the way these turned out-unpredictable but today was a good day!..and I only “cooked ” the first piece.